How to Install Moto Graphics: SKDA x Swapmoto Live
Posted by SKDA on Aug 30 2023
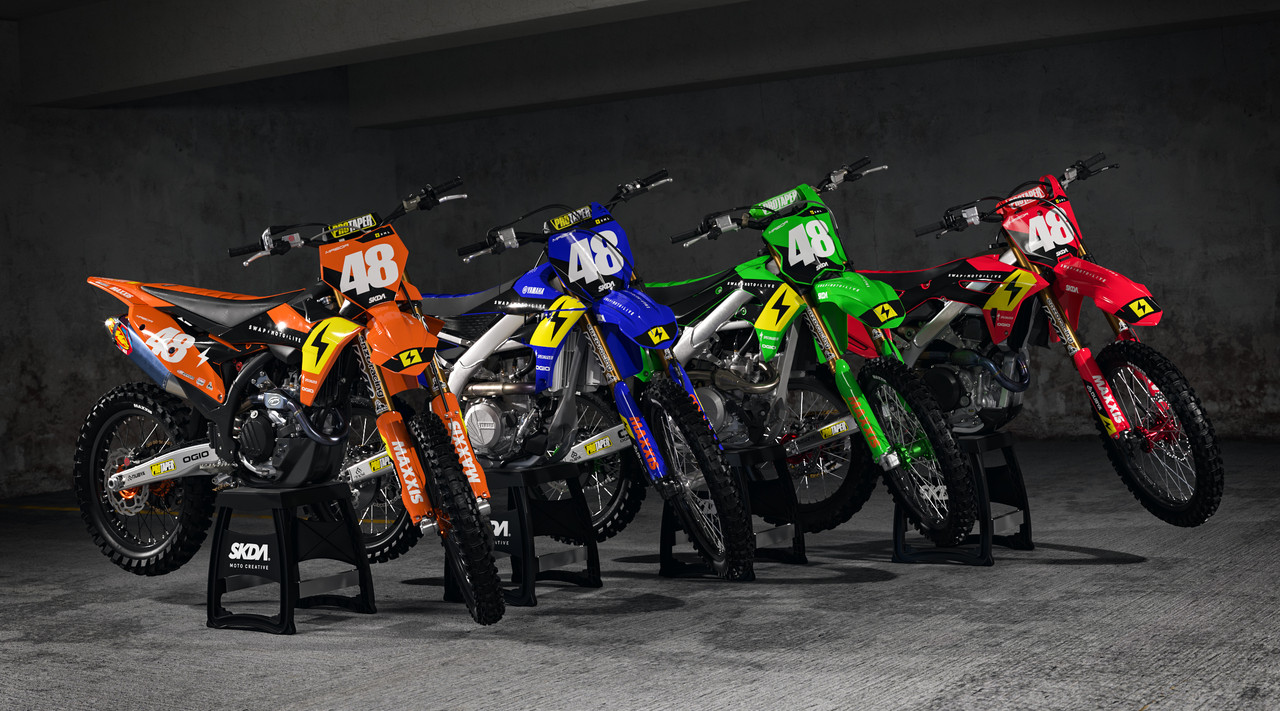
If you’ve just unpacked a clean new set of SKDA graphics, you'll want to make sure you install them the right way. In the latest episode of the Dennis Kirk Tech Tip with Swapmoto Live, Donn Maeda walks you through the best method for installing a SKDA graphics kit on a 2023 Honda CRF250R Works Edition, dropping some helpful hints for the smoothest possible fitment.
TIMESTAMPS
3:46: Front Plate Install
5:14: Shroud Piece Install
8:54: Side Panel Install
MOTO GRAPHICS INSTALL TIPS
01. Always wash the bike and spray the areas the stickers are going to be attached with contact cleaner to make sure they’re free of residue & wax. Take off the seat cover, as stickers like the side panel and shroud piece are going to be attached beneath the seat
02. Before applying, heat up your sticker with a heat gun or hair dryer. Don’t get too close or overheat, as you’ll either burn the sticker or wrinkles will start to form. Once you crease a graphic, it’s hard to bring it back. You want to heat it just enough that it becomes soft and pliable to ease the installation
03. If you live in a cold climate, try warming up the plastic on the bike as well as the graphic. Applying a warm graphic to a cold surface doesn’t tend to work well.
04. Be patient with your fitment. If you catch any air bubbles, then peel the sticker back up and start again. Keep using the heat gun or hair dryer to ease the adhesion and get rid of any wrinkles or folds.

Like what you see? Shop the SML Kits used in the video by clicking here

